


Work on the old material
Apply the remover to the sealant you want to remove, following the product directions for application and contact time.
🎃 HALLOWEEN FAVORITES ARE HERE
🖤 DARKLY BEAUTIFUL — elevated picks for spooky season
🎃 HALLOWEEN FAVORITES ARE HERE
🖤 DARKLY BEAUTIFUL — elevated picks for spooky season
🎃 HALLOWEEN FAVORITES ARE HERE
🖤 DARKLY BEAUTIFUL — elevated picks for spooky season
🎃 HALLOWEEN FAVORITES ARE HERE
🖤 DARKLY BEAUTIFUL — elevated picks for spooky season
🎃 HALLOWEEN FAVORITES ARE HERE
🖤 DARKLY BEAUTIFUL — elevated picks for spooky season
🎃 HALLOWEEN FAVORITES ARE HERE
🖤 DARKLY BEAUTIFUL — elevated picks for spooky season
🎃 HALLOWEEN FAVORITES ARE HERE
🖤 DARKLY BEAUTIFUL — elevated picks for spooky season
🎃 HALLOWEEN FAVORITES ARE HERE
🖤 DARKLY BEAUTIFUL — elevated picks for spooky season
🎃 HALLOWEEN FAVORITES ARE HERE
🖤 DARKLY BEAUTIFUL — elevated picks for spooky season
🎃 HALLOWEEN FAVORITES ARE HERE
🖤 DARKLY BEAUTIFUL — elevated picks for spooky season
🎃 HALLOWEEN FAVORITES ARE HERE
🖤 DARKLY BEAUTIFUL — elevated picks for spooky season
🎃 HALLOWEEN FAVORITES ARE HERE
🖤 DARKLY BEAUTIFUL — elevated picks for spooky season
🎃 HALLOWEEN FAVORITES ARE HERE
🖤 DARKLY BEAUTIFUL — elevated picks for spooky season
🎃 HALLOWEEN FAVORITES ARE HERE
🖤 DARKLY BEAUTIFUL — elevated picks for spooky season
🎃 HALLOWEEN FAVORITES ARE HERE
🖤 DARKLY BEAUTIFUL — elevated picks for spooky season
🎃 HALLOWEEN FAVORITES ARE HERE
🖤 DARKLY BEAUTIFUL — elevated picks for spooky season
You're $55 away from FREE shipping!

Couldn't load pickup availability


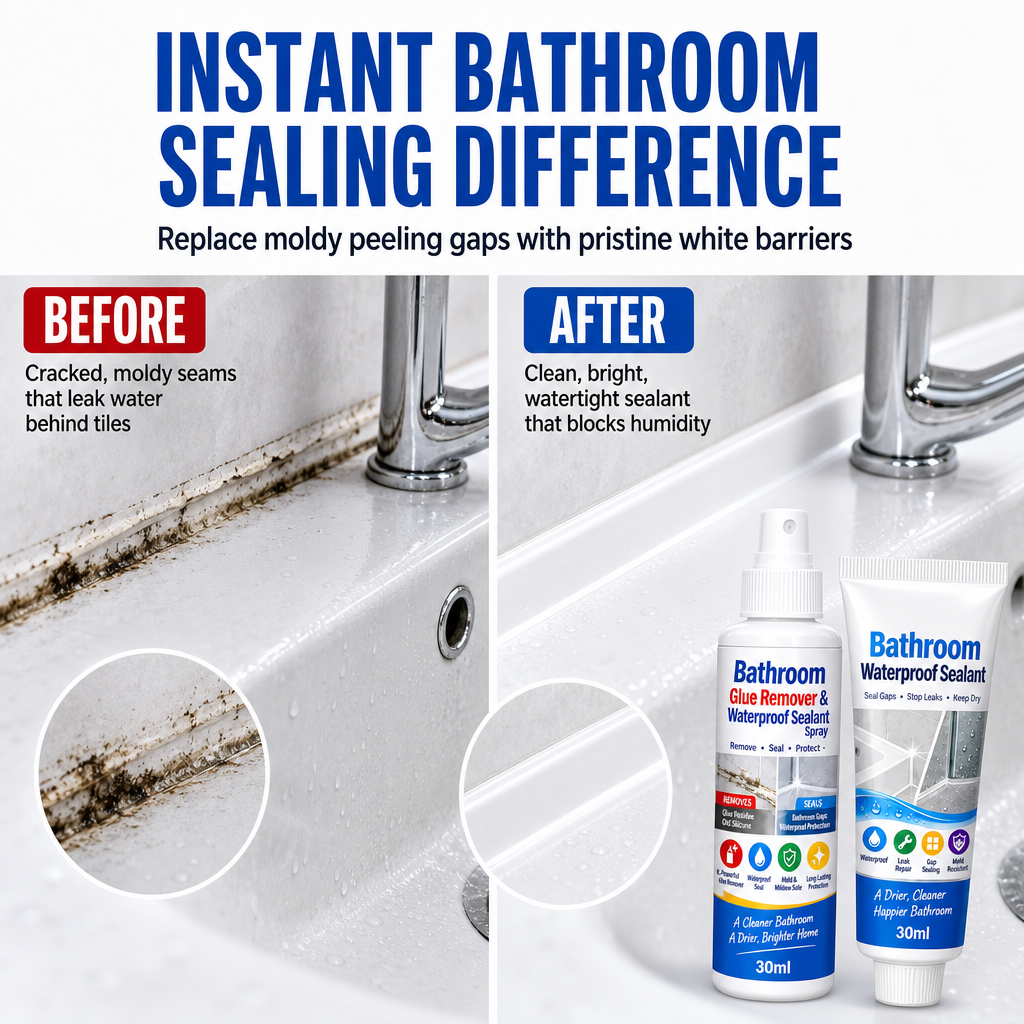


Give tired bathroom joints a cleaner finish with a two-part repair routine. Loosen stubborn old sealant, prepare the joint, then apply a fresh white seal.
You’ve wiped down the sink and cleaned the tiles, but cracked, peeling or discolored sealant can still make the whole area look tired. Refreshing the joint starts with removing the old material and preparing it for a new finish.
Start with the remover spray to help soften and loosen old sealant residue. It prepares the way for lifting away worn material before you move on to resealing.
Apply the remover to the sealant you want to remove, following the product directions for application and contact time.
Lift away softened material and clear remaining residue. Prepare the joint as directed before applying the sealant.
Once the joint is properly prepared, apply the white sealant along the seam. Its flexible formula is designed for bathroom joints exposed to everyday moisture and humidity.
The pointed nozzle helps guide the sealant where you need it for a more controlled application.
Smooth the fresh sealant into a continuous finish around suitable bathroom joints and edges.
Give the seal time to set. Follow the product’s curing instructions before exposing the repaired joint to water.
Use each formula for its own job, and give surface preparation and curing the attention they need.
Target the old sealant with the remover spray. Allow it to work for the time stated in the product directions.
Lift away loosened material with a suitable tool. Clear residue, then clean and dry the joint as directed.
Run the white sealant along the prepared joint and smooth the bead into an even, continuous line.
Follow the sealant’s curing instructions before using the area or allowing water onto the new joint.
One bathroom repair set with a remover for the old sealant and white sealant for the new finish.
| Product | Bathroom glue remover and waterproof sealant set |
|---|---|
| Adhesive remover | 30 mL |
| Waterproof sealant | 30 mL |
| Sealant color | White |
| Package quantity | 1 set |
Each set includes 30 mL of adhesive remover and 30 mL of white waterproof sealant.
No. The adhesive remover helps loosen old sealant for removal. The waterproof sealant is applied afterward to create the new joint finish.
The sealant is white. Its appearance on a screen may vary slightly with monitor and lighting settings.
The intended workflow starts with removing old material, clearing residue and preparing the joint. Follow the product directions before applying the new sealant.
Allow the sealant to cure for the time stated in its product directions before exposing it to water. Application and curing are separate stages.
It is intended for household bathroom joint maintenance, such as suitable seams around sinks, tubs and tiled edges. Check the product directions for compatibility with your surface before applying either formula.
Remove worn material, prepare the seam and finish with fresh white sealant. Two formulas for a more complete bathroom repair routine.